Glamping feels effortless until a 15°C temperature swing between midday and night leaves you either shivering at dinner or sweating on a morning walk. Canvas and cabin interiors heat up quickly in the afternoon sun, then cool just as fast after dark, so a single fixed outfit almost never works for a whole day outdoors. The solution is to learn how to layer clothing for glamping, so you can add or remove pieces as conditions shift instead of overpacking a suitcase you barely use.
This guide walks you through a simple three-layer system: merino base layers, one insulating mid layer, and a lightweight rain shell, plus the accessories that make cold nights comfortable. You’ll also find seasonal advice on when layering matters most, from shoulder-season swings to midsummer stays, and tips on booking the right dates for the weather you want. By the end, you’ll pack lighter and stay comfortable from breakfast to the evening fire pit.
Why Layering Beats Bulky Packing at Glamping Sites
Glamping sites look relaxed in the brochure, but their buildings behave in ways your wardrobe needs to respect. Tents and cabins heat up fast in the afternoon sun, sometimes to the point where you want nothing more than a t-shirt, and then cool quickly after dark, when canvas walls offer little insulation. A fixed outfit, like one warm sweater for the whole day, fails in both directions: too hot at lunch, too cold after sunset.
This is why layering beats bulky packing. A three-layer system of a merino base, an insulating mid layer, and a weather-proof outer layer lets you adapt to swings of 10–15°C between afternoon and night without bringing a separate outfit for every condition. You add a piece when you cool down and shed one when you warm up, and everything fits in a fraction of the space a bulky coat would take.
Sitting still changes the math
Luxury glamping often includes outdoor dining and evening fire pits, and these change what you need. Walking between your tent and the main lodge generates plenty of heat, but sitting still at a table or around a fire for an hour cools you down fast. You need noticeably more insulation for those stationary moments than for moving around, which is exactly what a well-chosen mid layer provides. Plan for the fire pit, not just the trail, and you’ll stay comfortable all evening.
The Base Layer: Merino and Fabrics That Work From 0 to 20°C
The base layer is the piece that works hardest, because it sits against your skin all day. Merino wool tops and leggings are the smart choice here: they perform across roughly 0–20°C, which covers most glamping conditions, and they resist odour well enough to be worn 2–3 days before washing. That means fewer items in your bag and less laundry to think about mid-trip.
Cotton is the fabric to avoid next to your skin. It holds moisture, so a cotton shirt stays damp after a morning walk through dewy grass or a light shower, and damp fabric chills you quickly once the temperature drops. Merino, by contrast, keeps insulating even when slightly damp, which is exactly what you want in a setting where mornings are often wet.
How many base layers to pack
You don’t need a fresh base layer for every day. Pack two base tops and one bottom per 4–5 days, then rotate them, hanging the worn piece to air overnight. Merino’s odour resistance makes this rotation practical, and airing works especially well in dry glamping climates. It’s the same slow-travel mindset that suits destinations built around lingering outdoors, like the lavender country you can read about in a guide to Provence hideaways for slow French countryside mornings, where light, re-wearable clothing matters as much as the itinerary.
Mid Layers: One Fleece or Wool Sweater Is Usually Enough
Your mid layer is the insulation you reach for when the sun drops, and one piece is usually enough. A single midweight fleece or wool sweater covers most spring and autumn evenings by the fire, and it pairs with your base layer during the day if conditions turn cool. Resist the urge to bring three sweaters; one good midweight does the work of all of them.
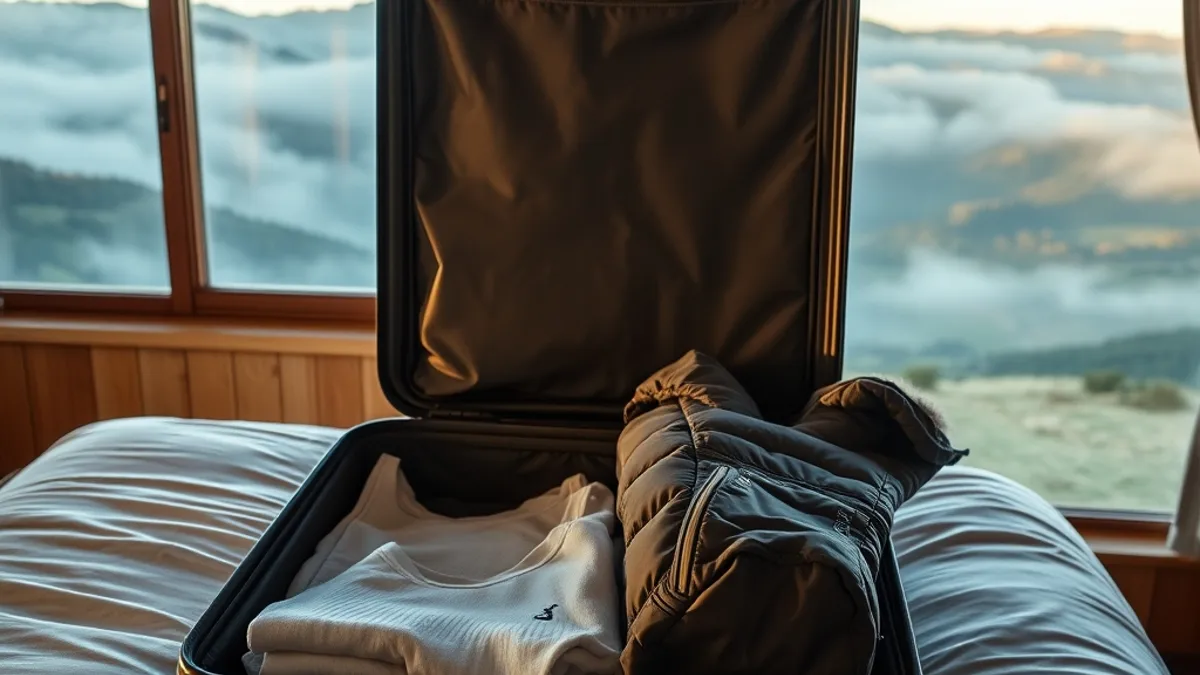
The one addition worth considering is a packable insulated vest. It earns its spot for outdoor dining, where you sit still for an hour or more and cool down far faster than when walking. A vest keeps your core warm while leaving your arms free for eating, and it packs down to almost nothing. If your vest has zip pockets, even better: they double as a safe spot for a headlamp or phone around camp.
Where you store mid layers matters too. Keep them in their own packing cube so you can grab one quickly at dusk without unpacking your whole bag, and re-wear outer layers between outfit groups rather than doubling up on insulation.
- Choose a fleece with a full-length zip rather than a pullover: you can vent heat instantly when you move from a cold veranda into a warm lodge without taking the whole layer off.
- Wool sweaters insulate better than fleece when damp, which makes them the better pick for Atlantic-facing destinations where drizzle is part of the experience, as described in this piece on Connemara hideout homes built for Atlantic weather and deep Irish quiet.
- Pick a mid layer in a mid-tone color like olive or navy: light colors show fire-pit sparks and campfire smoke stains, while very dark ones show every bit of tent dust.
Outer Layers: Rain Shells and Windproofs Under 300 g
When the sky turns gray over a glamping site, a heavy winter coat is the wrong answer. A lightweight rain shell weighing under 300 g handles most shoulder-season showers while taking up hardly any room in your bag. It packs down small enough to live in your daypack, so it is always there when a sunny afternoon turns into a drizzly evening.
Fit matters more than you might expect. Choose a shell with a hood that fits comfortably over your mid layer, because that combination is what keeps you warm when the wind picks up at dinner. A hood that only works over a t-shirt leaves you with two options you do not want: a cold head or a damp hood pressed against your ears.
Do not forget your feet
Waterproof footwear matters more than a heavy coat at most glamping sites. The path between your tent and the bathroom block is often grass or gravel, and morning dew or a night of rain turns it muddy fast. A pair of waterproof shoes or boots, plus a dry pair to change into at night, will do more for your comfort than any extra layer on your torso. If your boots get soaked, stuff them with paper and leave them near (not on) any heat source overnight.
Accessories That Close the Gaps: Hats, Socks and Sleepwear
The right accessories punch far above their weight. On a night that drops to around 5°C, a beanie and one pair of thermal socks can make the difference between a cozy evening and a miserable one, without adding a single bulky layer to your body. Heat escapes from your head and your feet get cold first when you sit still, which is exactly what you do around a fire pit or at an outdoor dinner table.
Wet weather is where most packing plans fall apart. If a day of rain soaks your socks and gloves, nothing dries overnight in a tent, so you need a buffer. Pack one extra pair of socks and one extra pair of gloves beyond what your outfit plan calls for, and keep them in a dry bag rather than loose in your luggage.
Sleepwear deserves its own thought. Luxury tents often come with proper duvets, but canvas walls offer little insulation, and the air inside cools quickly after dark. Dedicated sleep layers, worn only in the tent, stay dry and warm no matter what the day threw at you.
- Beanie: choose merino or fleece rather than acrylic, since it insulates even if evening drizzle dampens it.
- Thermal socks: pack a midweight pair for evenings by the fire and keep a separate, clean pair reserved for sleeping.
- Spare socks and gloves: store them in a waterproof dry bag so the buffer stays dry even if your main luggage gets damp.
- Sleep layers: a dedicated long-sleeve top and leggings worn only at night means you never start the day in clammy clothes.
How to Layer Clothing for Glamping by Season and Book the Right Dates
Timing changes everything about what you pack. The same glamping site can demand a full layering kit in October and a t-shirt plus a shell in July, so it makes sense to match your clothing list to your booking dates rather than following one universal checklist. A list built around your actual dates is lighter, cheaper to assemble, and far easier to live out of for a multi-day stay. Here is how to plan it, step by step.
- Target the swing seasons for your first trip. April–May and September–October offer the biggest day–night temperature swings, often 10–15°C, so these months need the fullest kit: merino base layers, a mid layer, a light shell, and all the accessories.
- Strip the list back for midsummer. Warm-weather stays usually need only a base layer plus a rain shell, since evenings stay mild and your mid layer can stay home.
- Add an insulated jacket for midwinter. Cold-season glamping builds on the standard three-layer system with one extra bulky piece, which you wear mostly at night rather than while walking.
- Book shoulder-season stays 2–3 months ahead. Advance booking gives you the best selection of tents and lodges, and specifically lets you secure units with heating or a wood stove, which makes cold nights far more comfortable.
Once your dates are fixed, resist the temptation to pack “just in case” items for weather you are unlikely to meet. Check the typical conditions for your specific travel window, then build your packing list around them. A layering kit sized to the season you actually booked means every item in your bag gets worn, and you avoid hauling a winter coat to a summer lodge or shivering through an autumn evening with nothing warm to pull on.
The Takeaway: Pack Light, Layer Smart
When afternoon sunshine turns into a chilly evening around the fire, the difference between comfort and misery comes down to how you dressed, not how much you packed. A three-layer system — a merino base, one insulating mid layer and a light shell — lets you adjust on the go, adding or removing pieces as the temperature shifts instead of committing to one bulky outfit that is wrong for half the day.
Small accessories punch above their weight after dark. A beanie and a pair of thermal socks often do more for your comfort than an extra sweater, especially when you are sitting still rather than moving. Plan your outfits in groups so you can re-wear outer layers, keep your pack light, and you will spend the evening enjoying the fire pit instead of shivering beside it. If this helped your packing, leave a comment or share the article with a fellow traveler.